

How To Turn A Drawing Into A Graphic Design
Many of y'all probably already asked Google if knowing how to describe is a must for condign a graphic designer. The answer is NO! What if ane solar day y'all take to make a manus-fatigued manner design? The reply is still NO!
That's right, y'all don't have to sketch! Y'all can turn a photo into a drawing in Photoshop and trust me, information technology looks real!
I've been working as a graphic designer for ix years, and I've clients that asked for chalkboard drawing, or uncomplicated analogy style designs. And my solution was, Photoshop! Honestly, I could draw, but Photoshop "draws" faster and improve. If I could save myself some time, why non?
In this article, y'all will learn how to turn a photo into a realistic pencil drawing easily forth with some useful tips.
Go along reading!
8 Steps to Turn a Photo into a Pencil Drawing in Photoshop
Whether yous are making chalkboard art or a simple sketch from a photo, following the steps beneath will turn your photo into a realistic sketch.
Note: Screenshots are taken from Adobe Photoshop CC 2022 Mac version. Windows and other versions might await slightly dissimilar.
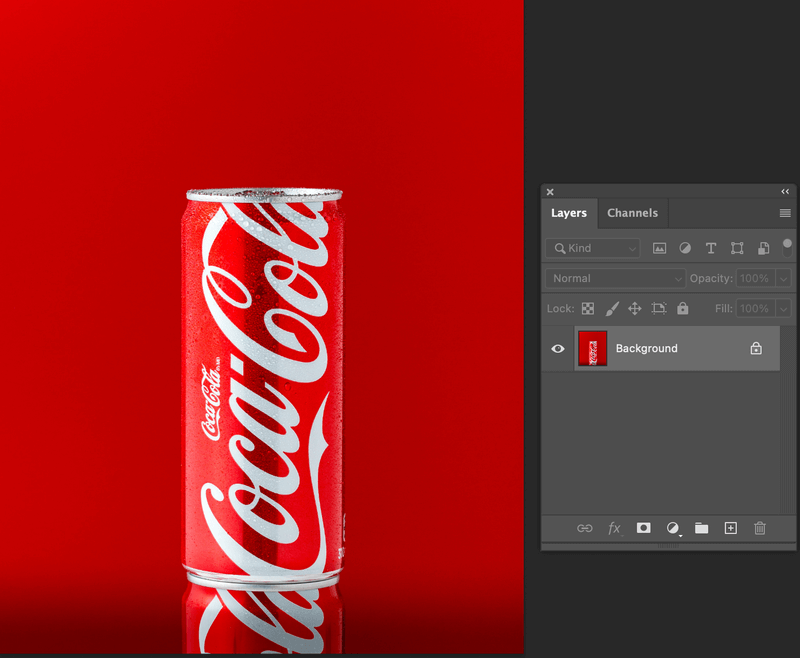
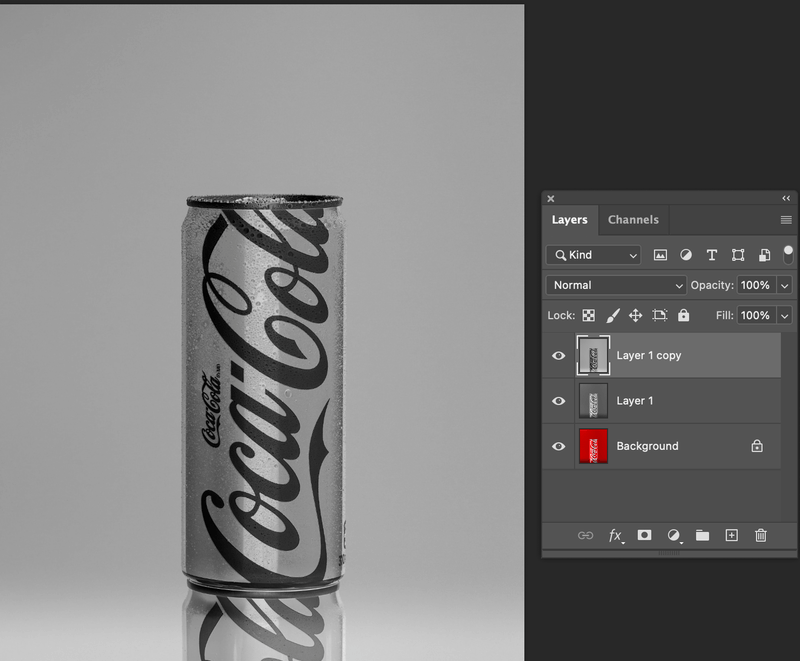
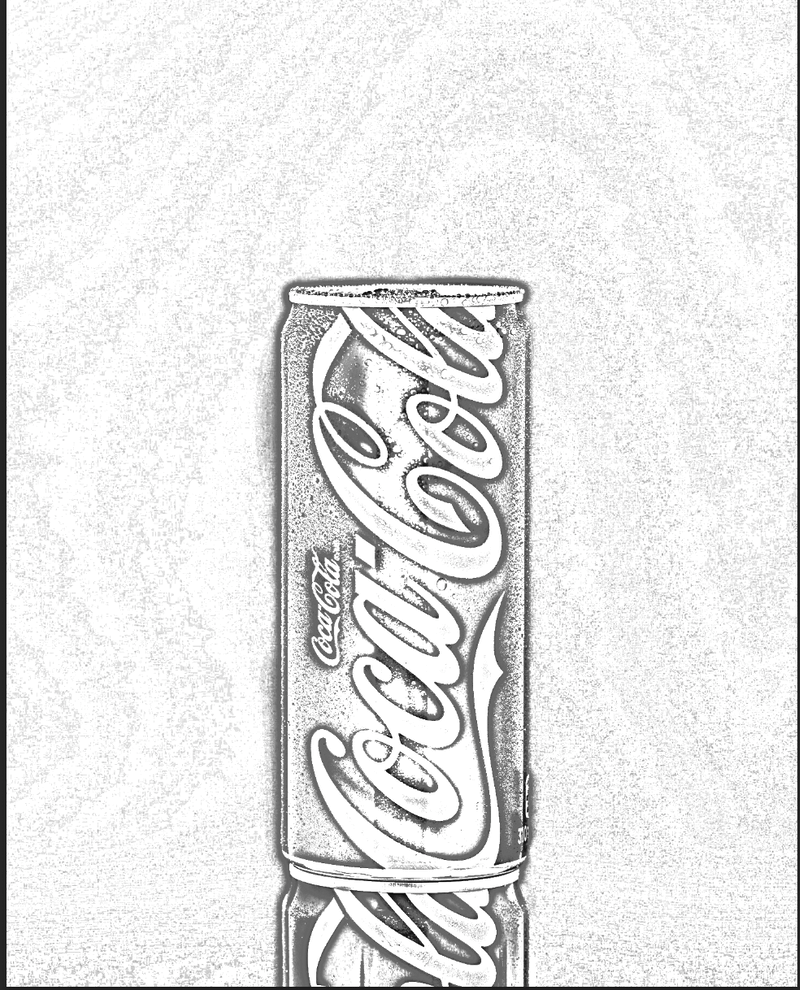
Stride one: Open the image you wish to change into a drawing in Photoshop. File > Open up. For example, I'm going to make this Coca-Cola image a pencil sketch.
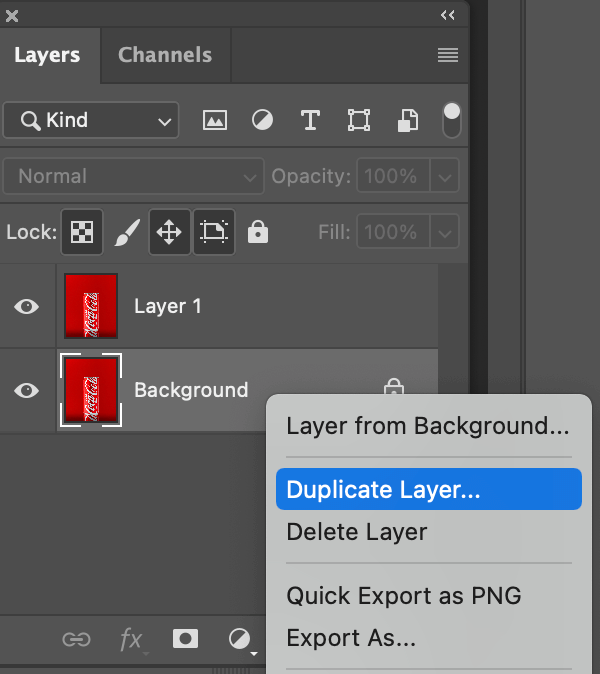
Step 2: Correct-click on the epitome layer in the Layers panel, and select Duplicate Layer to make a copy of the image. Or utilize select the layer and apply the keyboard shortcut Command (Ctrl for Windows) + J to duplicate the layer.
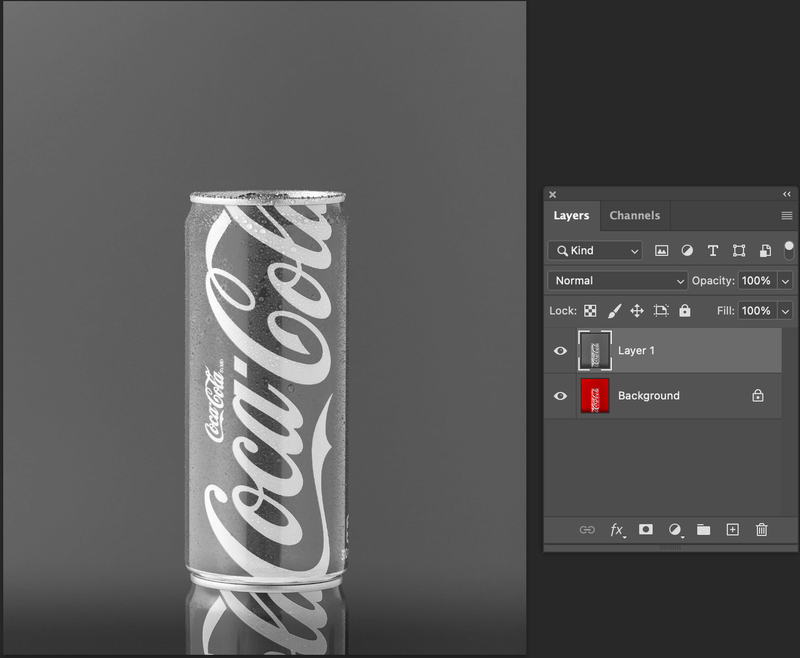
Stride 3: With the new layer selected, go to the overhead menu Prototype > Adjustments > Desaturate or employ the keyboard shortcuts Shift + Command (Ctrl for Windows) + U to desaturate the photo (Layer ane).
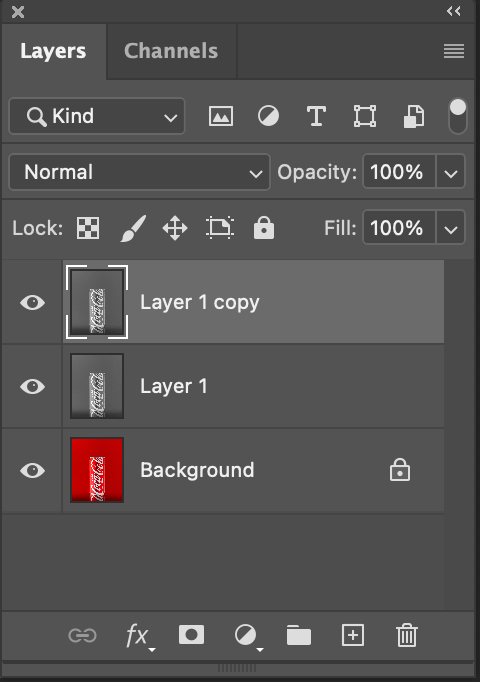
Step 4: Make a re-create of the desaturated prototype. Use any methods you prefer to indistinguishable the layer.
Pace 5: Select the top duplicated layer and go to the overhead menu Image > Adjustments > Invert or hit Command / Ctrl + I to invert the image.
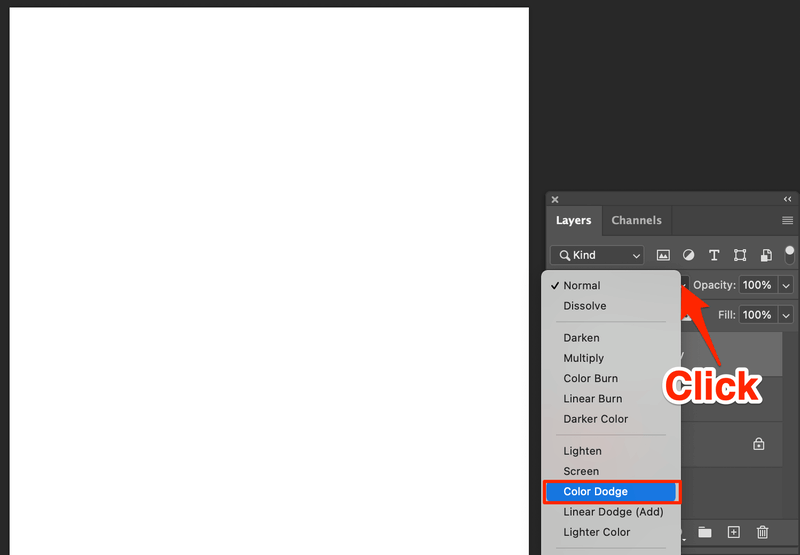
Pace half dozen: On the same layer (the inverted layer) choose the blend style Colour Dodge from the Layers panel drop-down carte. You'll see most of the image turn white.
Stride seven: With the tiptop layer selected, go to the overhead carte du jour Filter > Blur > Gaussian Blur.
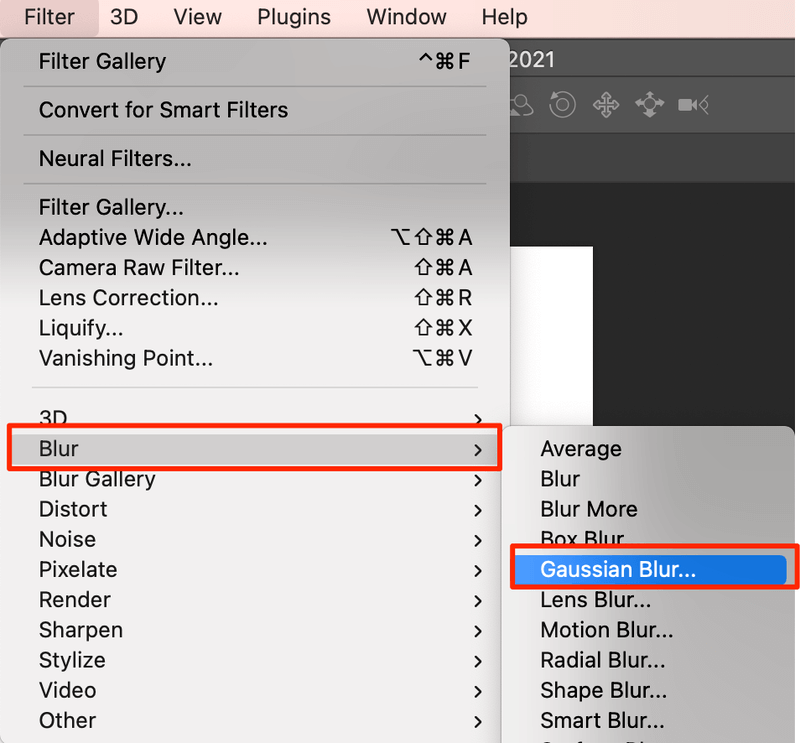
You will run into this window pop upwards.
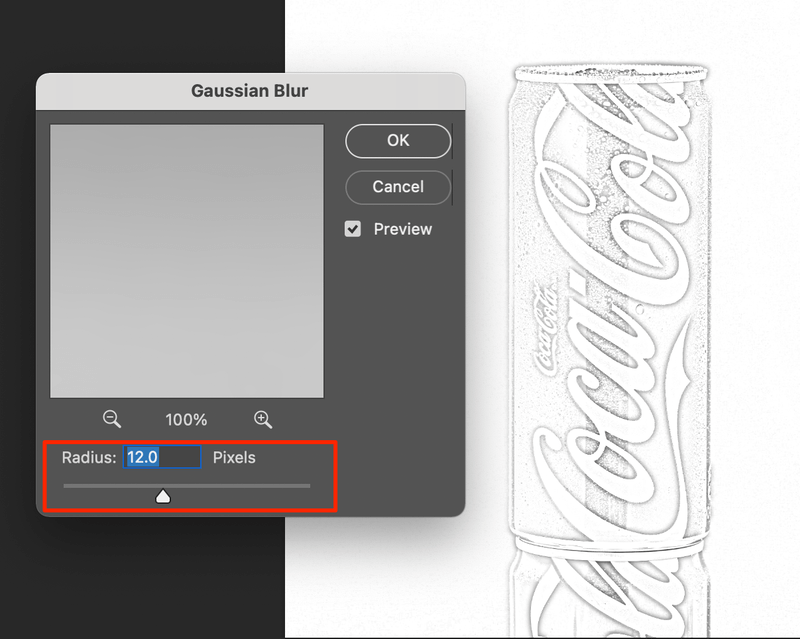
Step 8: Move the Radius slider to find the pencil outcome that you want to create and click OK.
Tips: Check the Preview box to see how the effect looks as you adjust.
Additional Tips
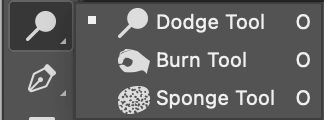
Missing something? Or also much noise in the background? You can clean upwardly the image using the Dodge and Burn down tools. The Dodge tool lightens the pencil marks, and the burn tool darkens them.
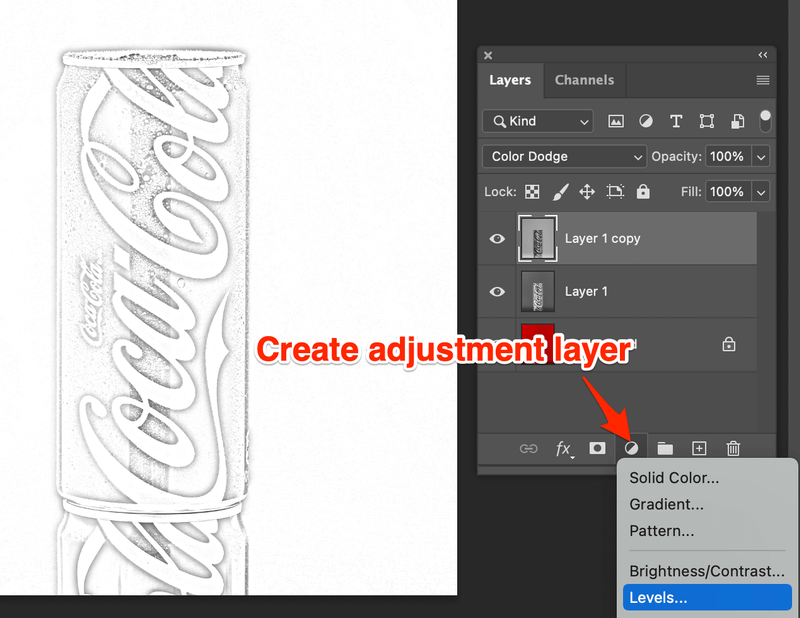
Yous can also add together an aligning layer to create a more than sophisticated and realistic pencil marking effect. For example, you can adjust the Levels. Click on the Create new fill or adjustment layer icon and choose Levels.
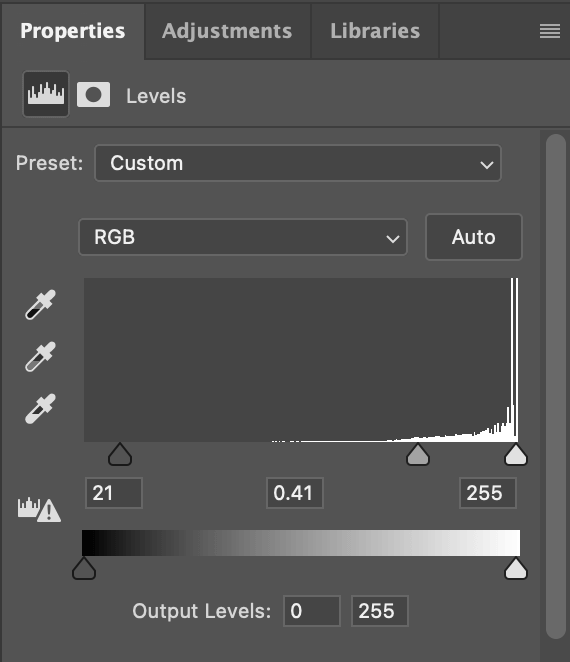
Now you tin move the slider to get the effect that suits your photo (pencil drawing).
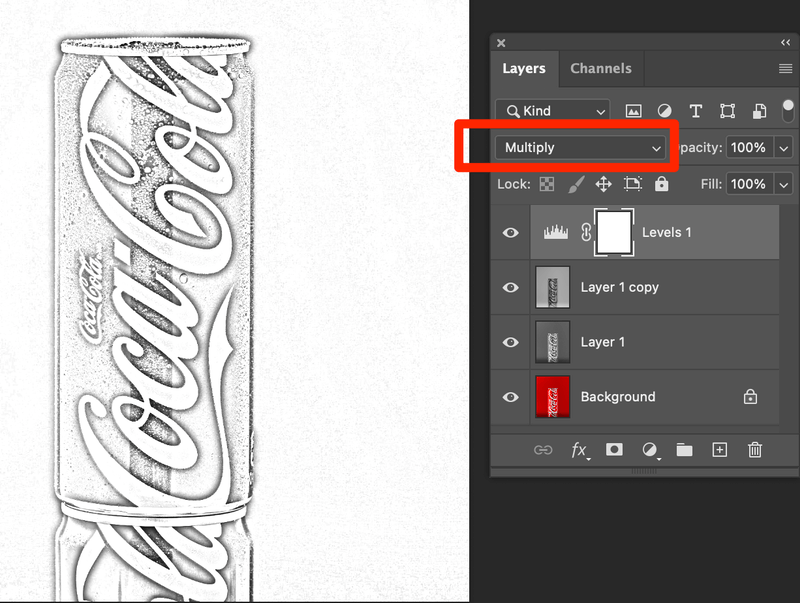
Select Multiply blend fashion. You lot can see the pencil marker is heavier than earlier.
If you desire to make other adjustments, just observe the Adjustments panel and make any adjustments you need.
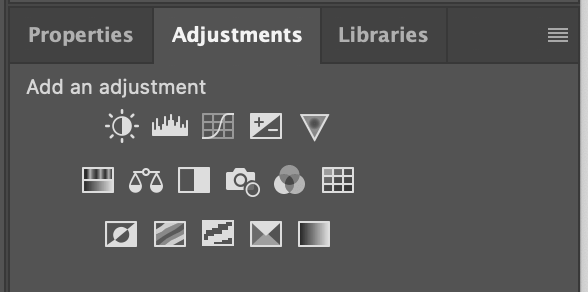
For example, you want to make the pencil drawing look more than like a sketch way, you can adjust the curves to attain this result.
Conclusion
The good news is, you don't take to know how to draw to make a sketch! You can simply manipulate the paradigm to make a realistic pencil drawing in Photoshop following the 8 steps above. Hope you find my tutorials tips helpful 🙂

Source: https://www.photoshopbuzz.com/change-photo-to-line-drawing/
Posted by: hallmusenchently40.blogspot.com
0 Response to "How To Turn A Drawing Into A Graphic Design"
Post a Comment