

How To Make A Template For Cabinet Door Handles
The kitchen renovation is in the final stages! YAY! Today I'm giving a sneak peek at the cabinets and sharing a tip for installing hardware. I want to show yous how to salve fourth dimension and avert costly mistakes when installing cabinetry hardware with an easy to make DIY Cabinet Hardware Template.
You lot can purchase cabinet hardware templates online (Amazon affiliate link) but with my cabinets, I institute it is just as easy to brand your own custom template with posterboard, cardboard, or foam board and depending on the style of your cabinets/drawers, the purchased templates don't always work. Of course if y'all have ability tools, a template can be made out of scrap wood too. I made one template for my cabinets and a 2nd tempate for the drawers.
DIY Cabinet Hardware Template
You will need the post-obit supplies:
- ruler
- foam board, cardboard or posterboard
- pencil
- scissors or utility knife
- washable markers
- drill
Step 1) Decide exactly where you want your hardware to keep the chiffonier. Take Two measurements.
- Beginning measure the width of the side panel of the cabinet (this volition exist the width of your template). Record this 1st measurement.
- Measure out the altitude from the bottom of the cabinet up to where the 1st drill hole of your hardware will get. Tape this 2nd measurement.

Footstep 2) Use the ruler and pencil to mark the 1st measurement onto a side corner of your foamboard or cardboard. Using the corner of the lath helps ensure a precise xc° bending. The height of your template depends on how large your hardware is. I take 3 differents sizes of cabinet pulls so I made my chiffonier template extra tall. Adjacent cut the template out with either scissors or a utility knife.
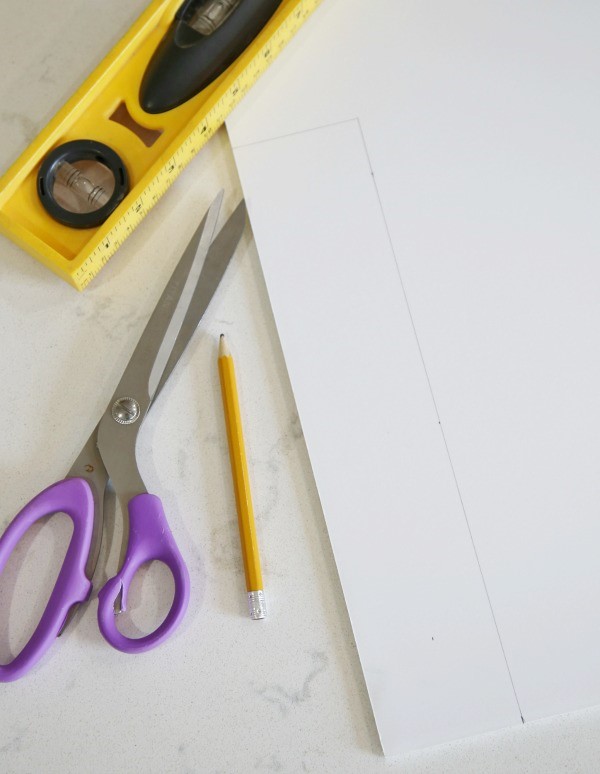
Pace 3) With your ruler, find the center of the template width and describe a line downwardly the center, dividing the template in half.
Step 4) Have the 2nd measurement and mensurate from the bottom up on the template and marker the intersection where the lowest hole for the hardware volition be.

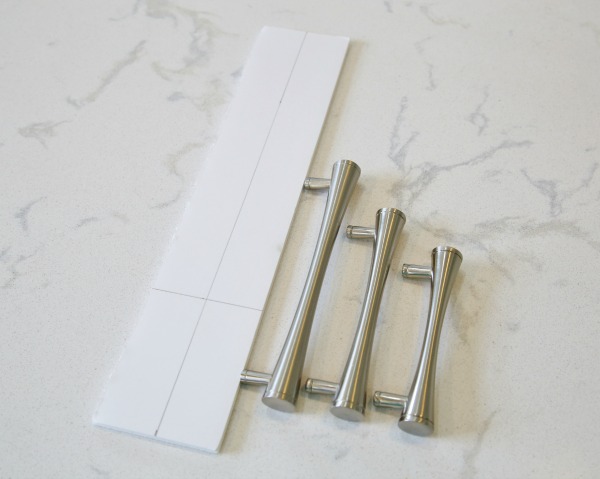
These are the 3 different sizes of hardware I'm using in my kitchen and familyroom cabinets. Our hardware is Elements Sedona Drove in Brushed Nickel. I want to use one template for all iii sizes. Next is a super cool flim-flam to get totally accurate measurement of your hardware.
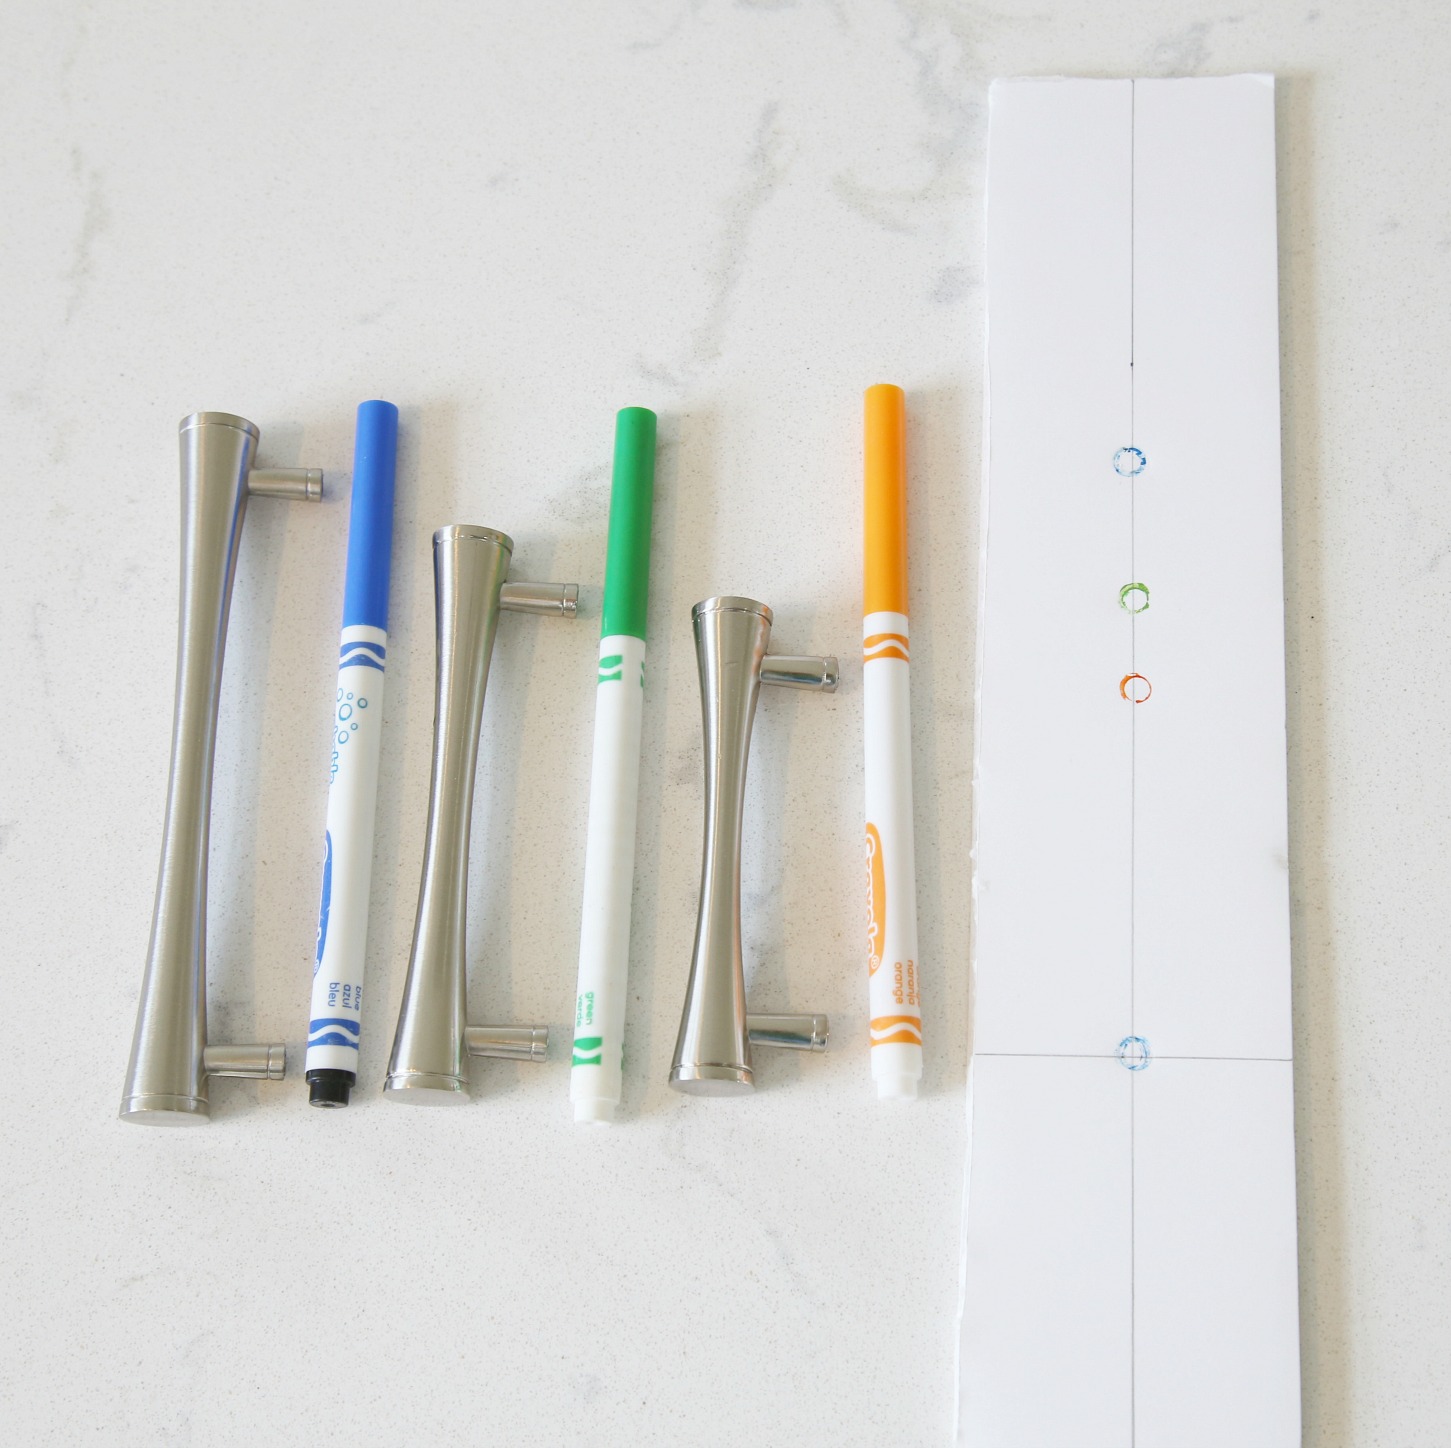
Step 5) You can either measure the distance betwixt the hardware holes or you lot tin use this like shooting fish in a barrel trick! Accept a washable marker and colour the bottom of the hardware screw holes. Line upwards the hardware on the template and stamp the colour onto the template. Use a different color for each hardware size. The marker washes correct off easily by dabbing it on a wet sponge. Now my template has all 3 hardware sizes on it! Yay!
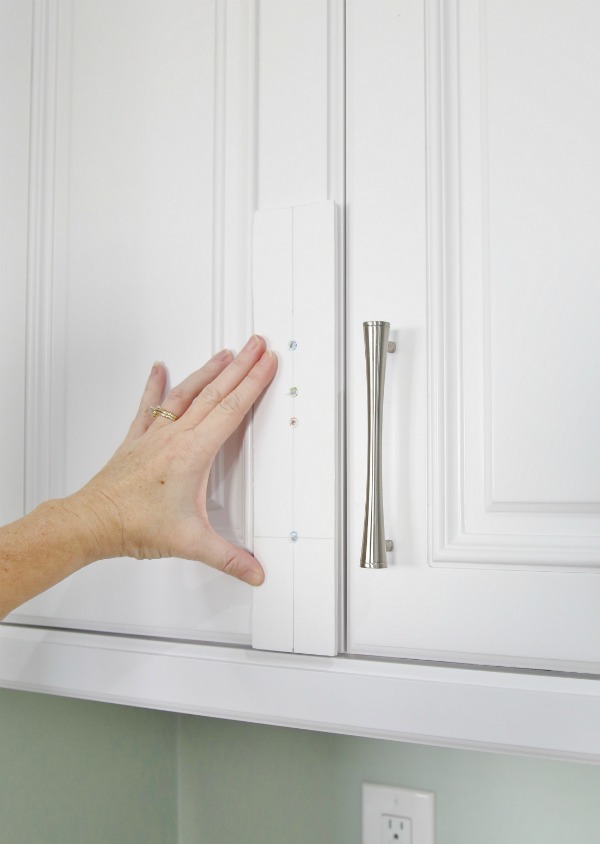
Stride 6) Line upwards your cabinet hardware template along the edge of chiffonier. Either hold it steadily in identify or use a scrap of painter's tape to secure.
Step vii) Hold the drill level and drill through the advisable holes on the cabinet hardware template and so adhere the hardware.
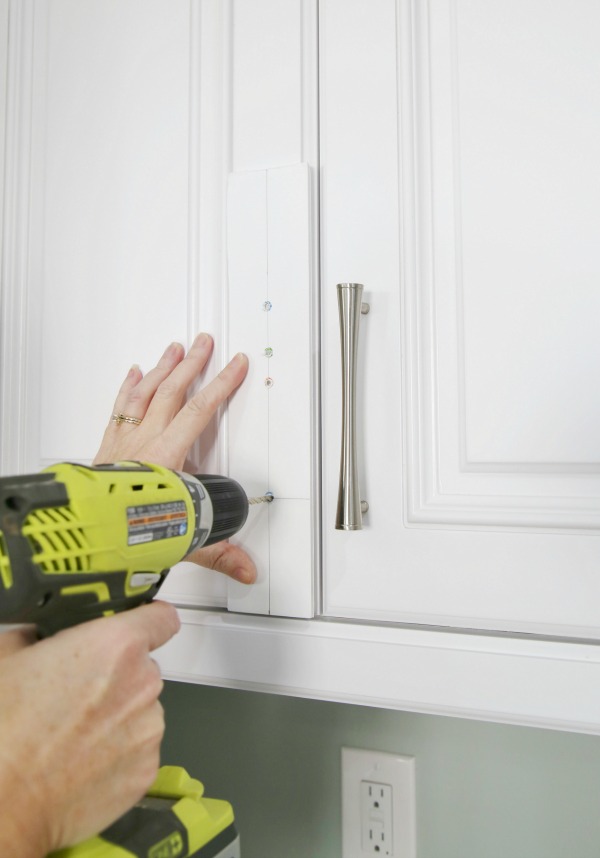
Ta-da! Beautiful hardware installed!
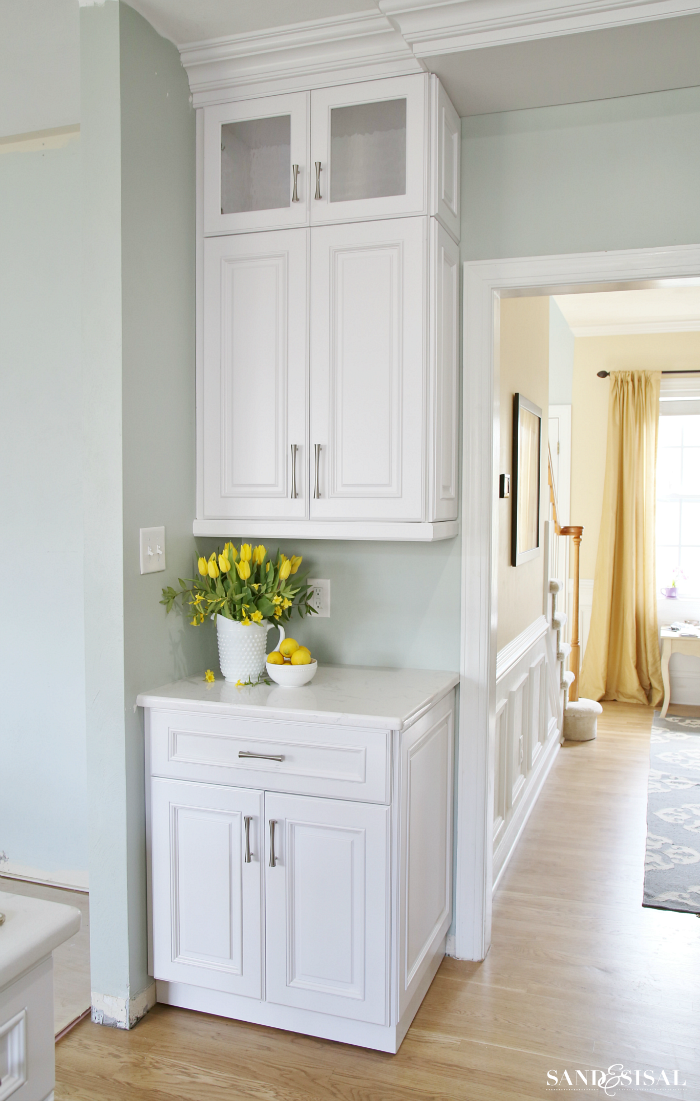
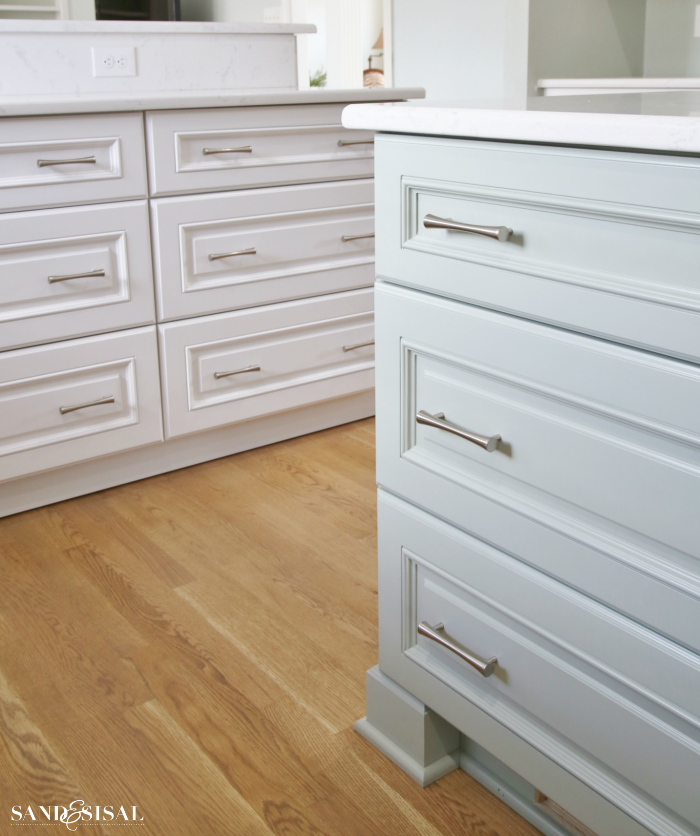
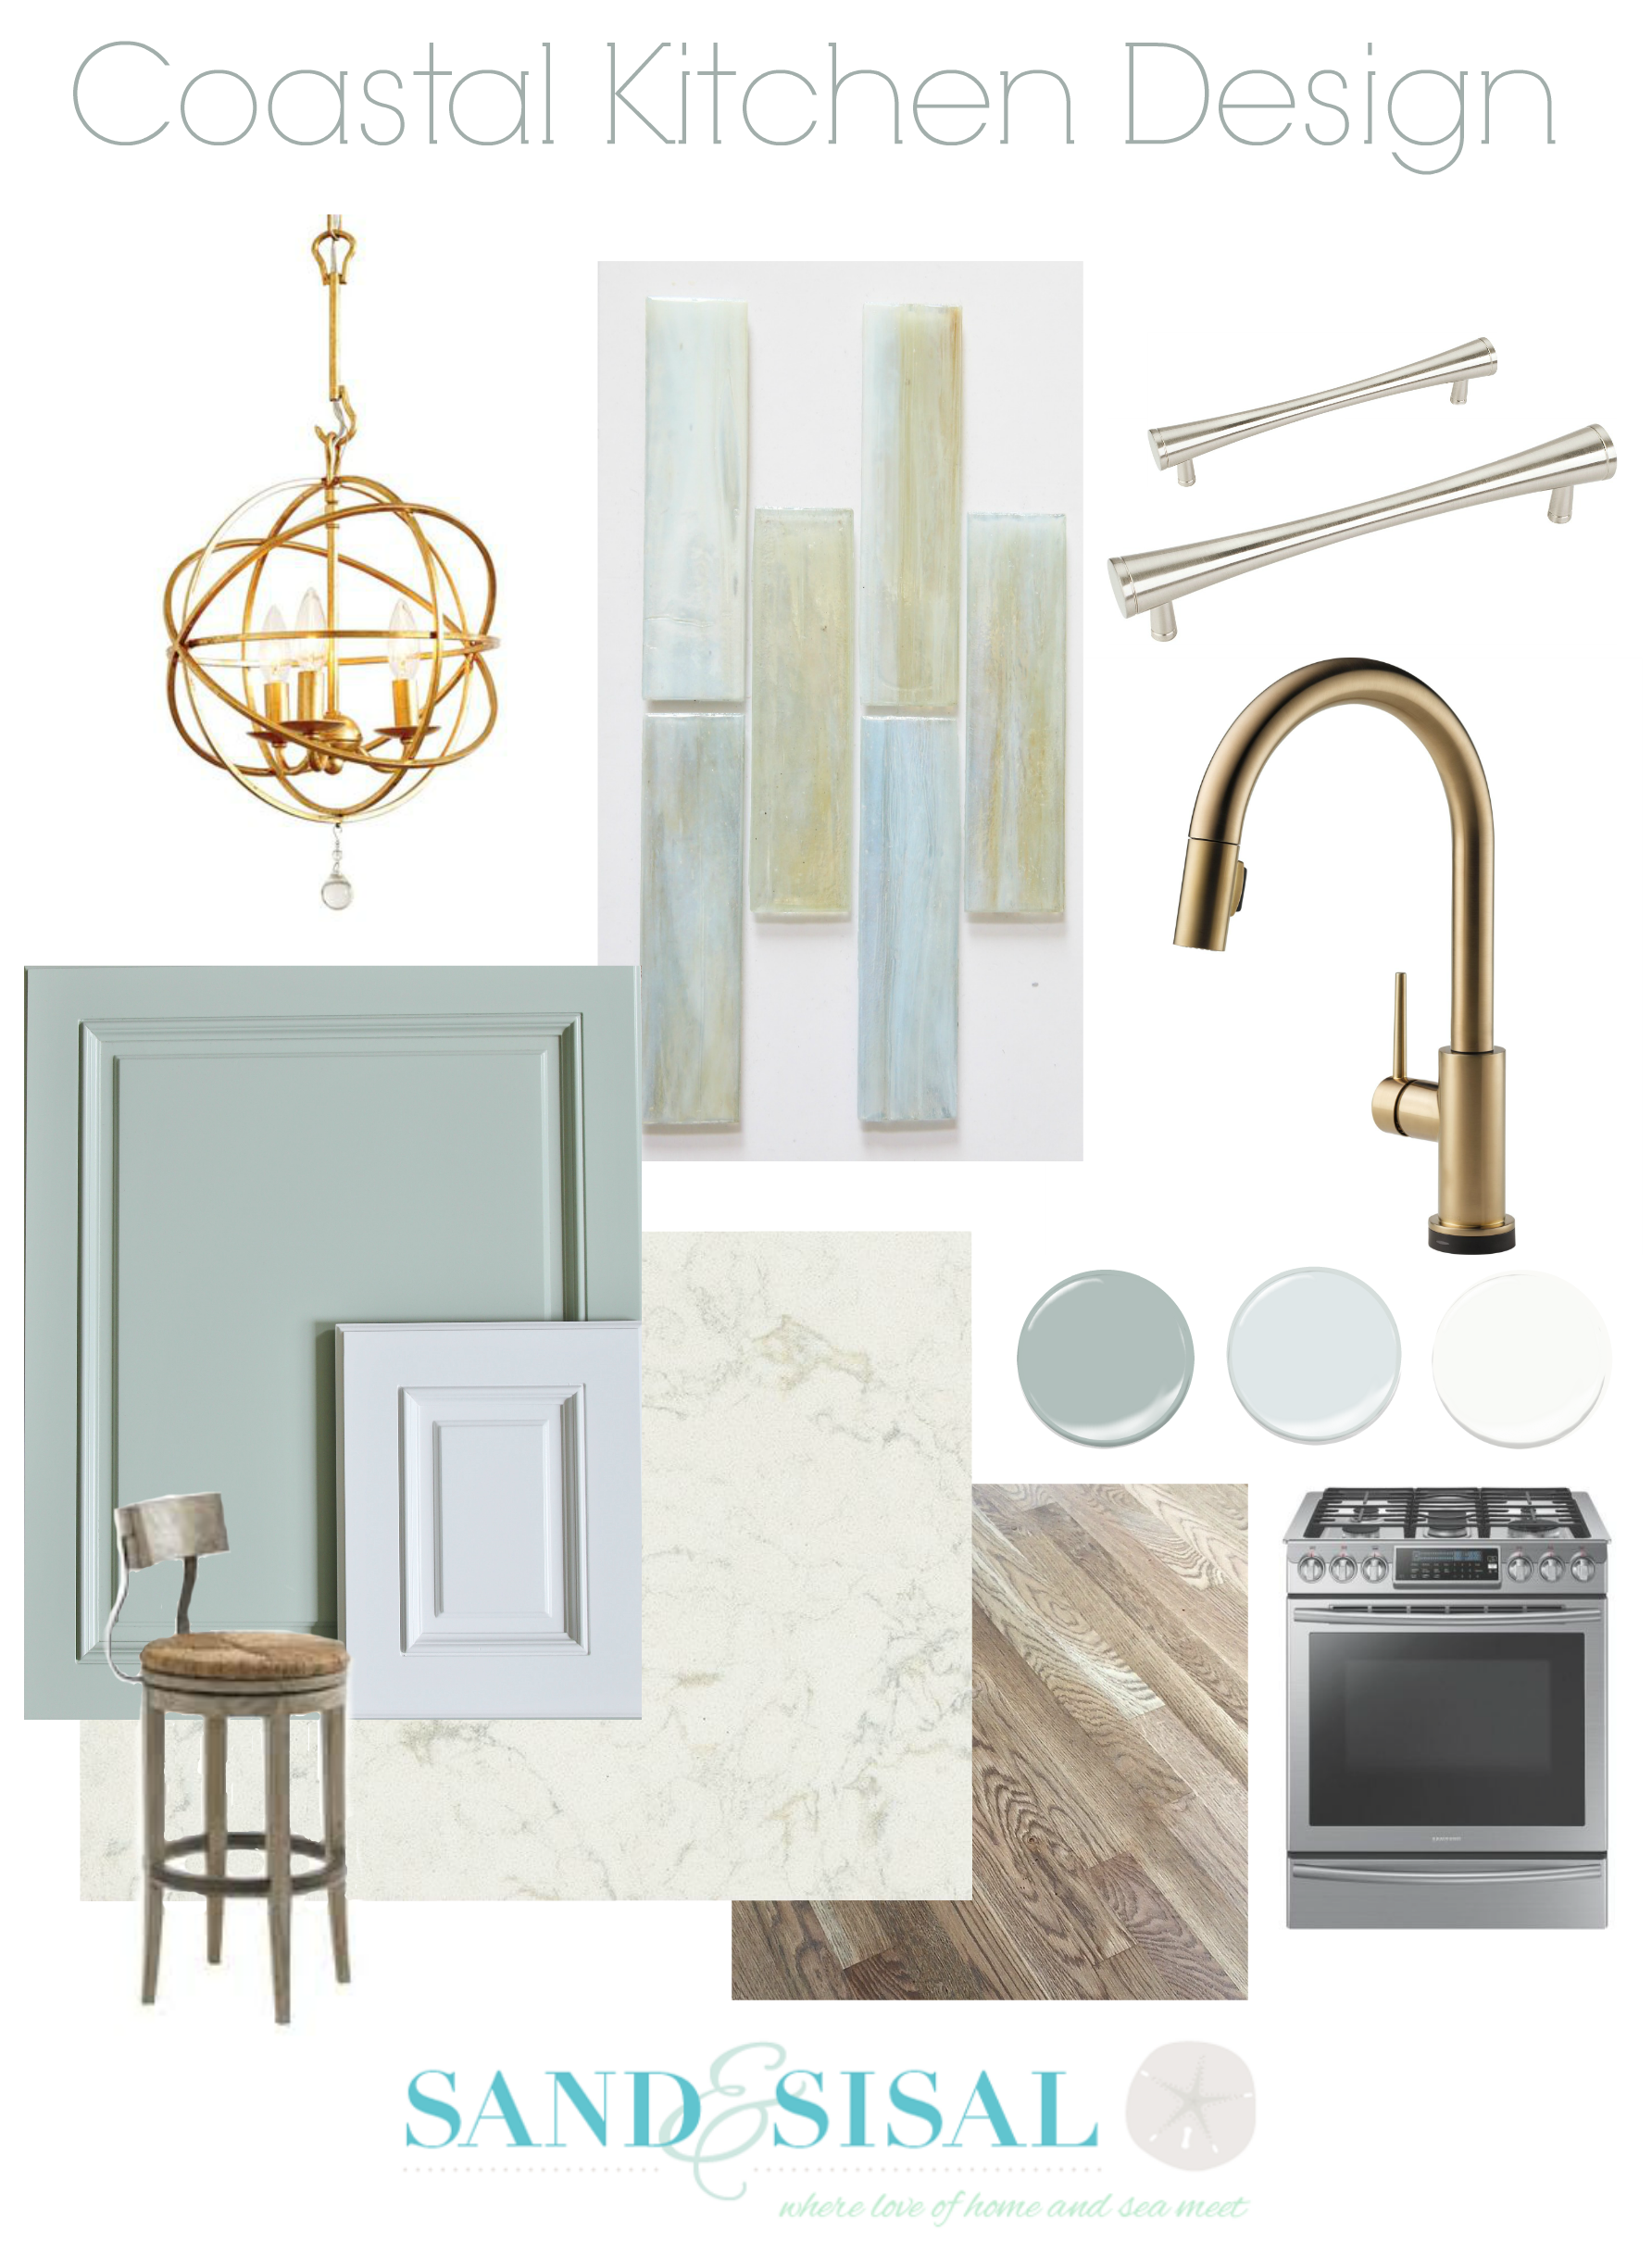
Here'due south a peek at the drawers and isle. The isle colour is Oyster Bay past Sherwin Williams.
Don't forget to PIN the graphic beneath for future reference! I hope you give this DIY Cabinet Hardware Template a endeavor!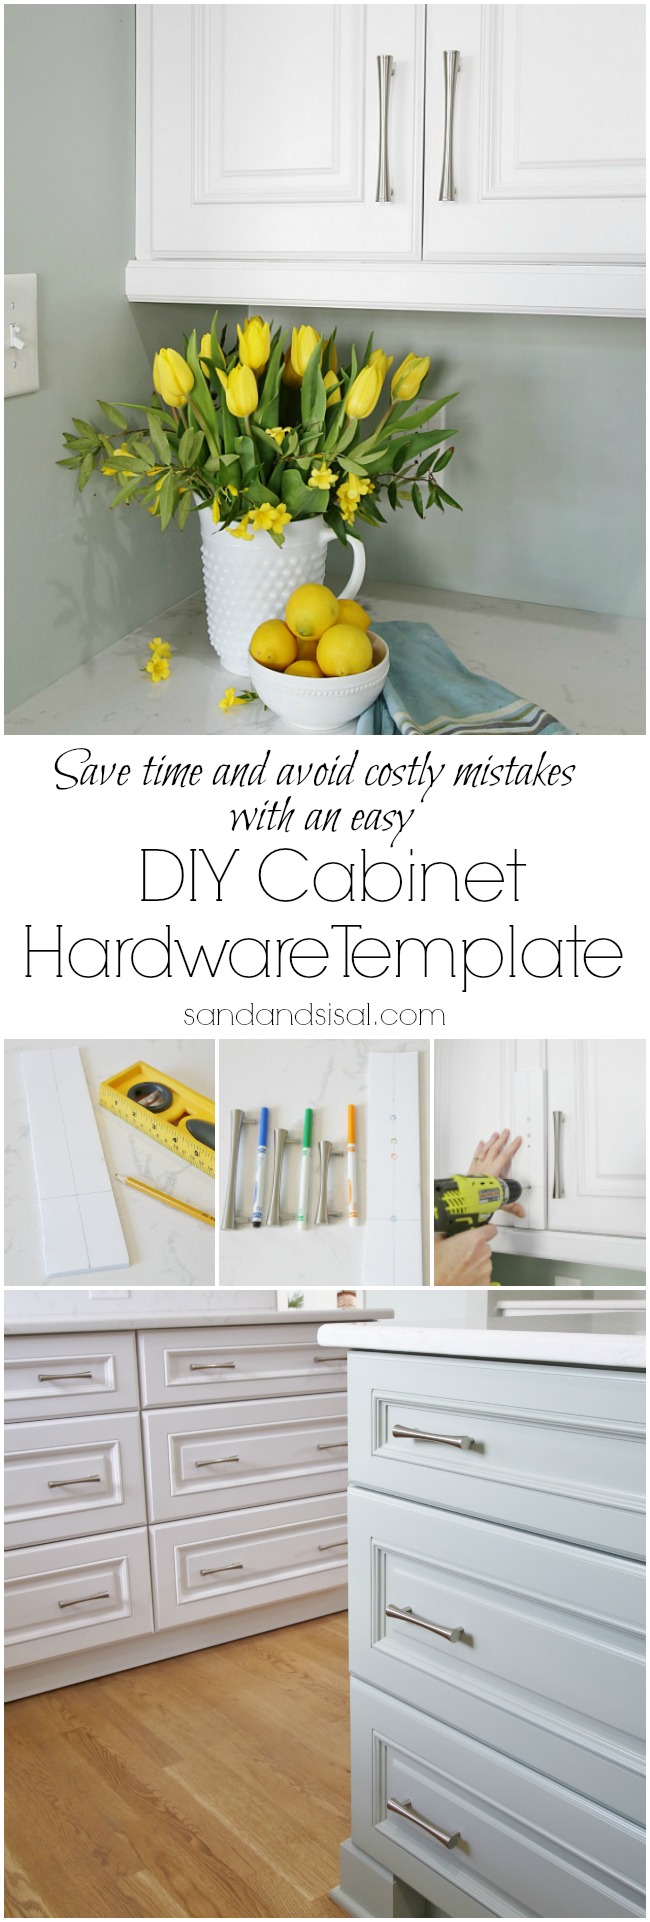
Simply a few more weeks and the full kitchen will be revealed! I tin can't wait!
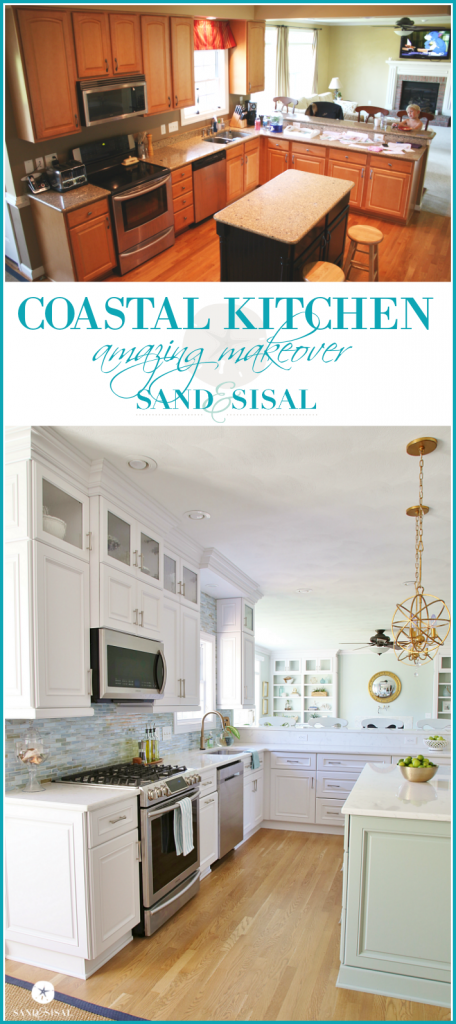
UPDATE! THE REVEAL!
Click here to run into the long awaited results! Coastal Kitchen Makeover – The Reveal
Catch up on the whole inundation fiasco & our kitchen renovation progress with these posts:
Waking up to a Overflowing
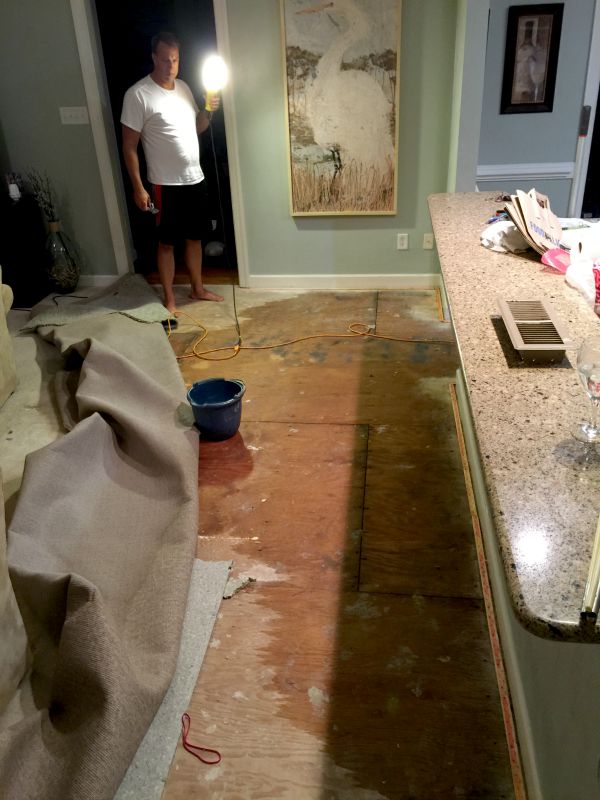
After the Flood ~ An Update
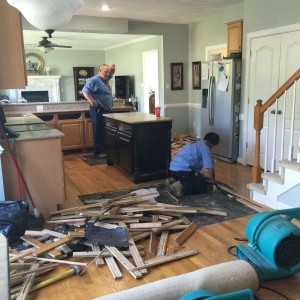
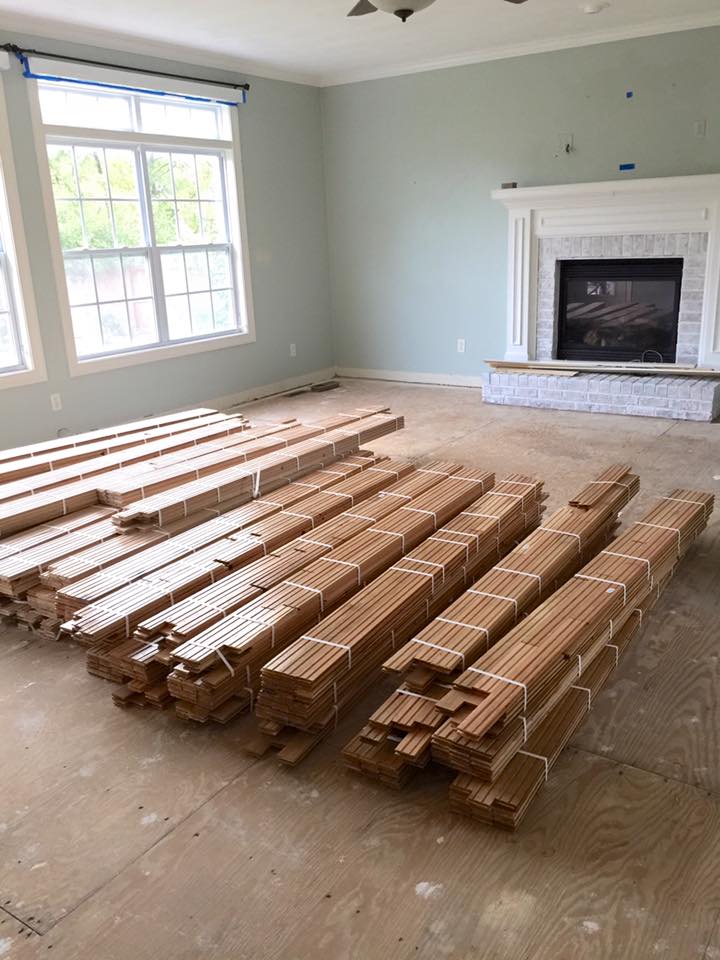
Afterward the Flood – Preparing and Installing Hardwood Floors
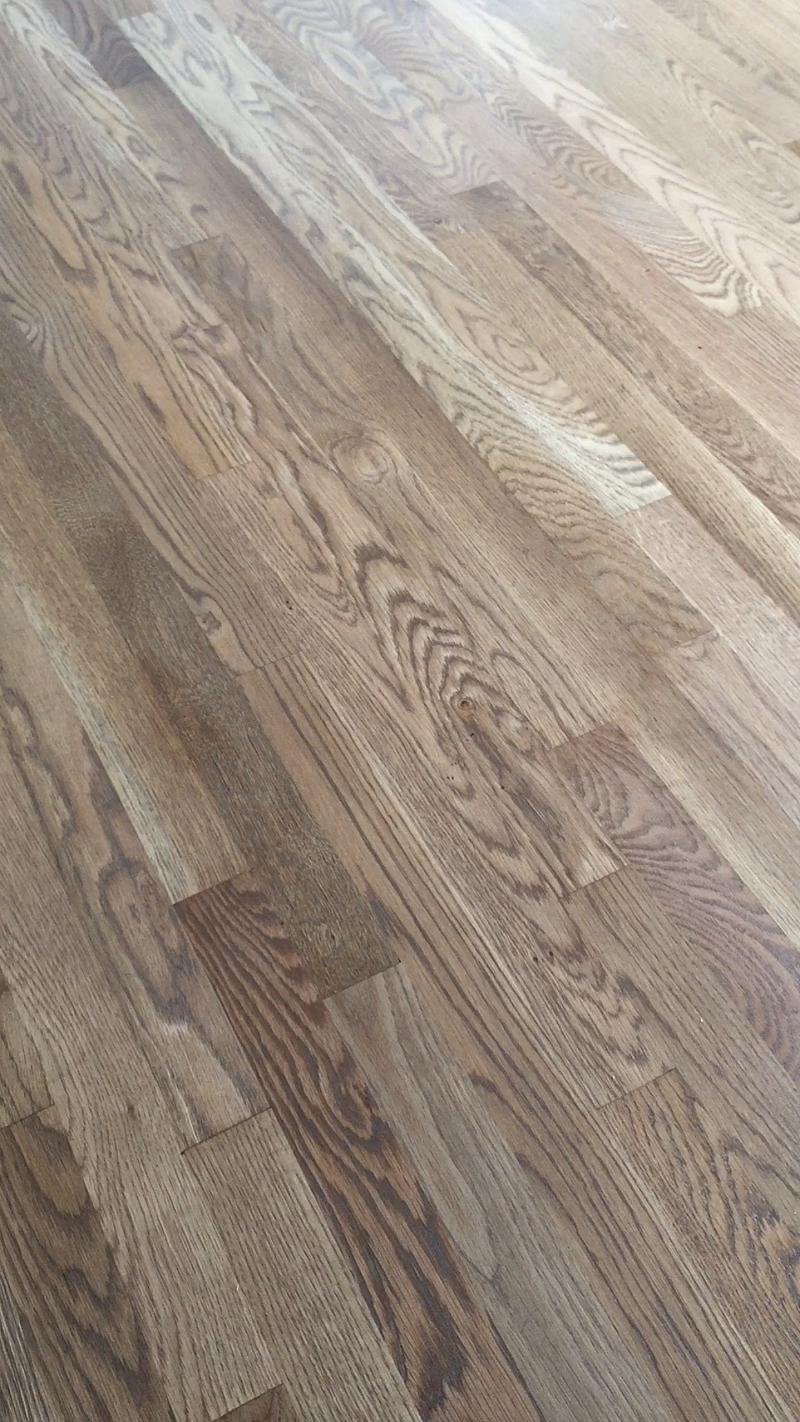
Choosing Hardwood Flooring Stains

Weathered Oak Floor Reveal + More Demo {After the Inundation Update}
Our Coastal Kitchen Design Board
KIM

How To Make A Template For Cabinet Door Handles,
Source: https://www.sandandsisal.com/2016/03/diy-cabinet-hardware-template.html
Posted by: hallmusenchently40.blogspot.com
0 Response to "How To Make A Template For Cabinet Door Handles"
Post a Comment